

Grass Patch Recipe
/Try this simple Grass Patch recipe
Read MoreAll things plant care and simple recipes
Try this simple Grass Patch recipe
Read More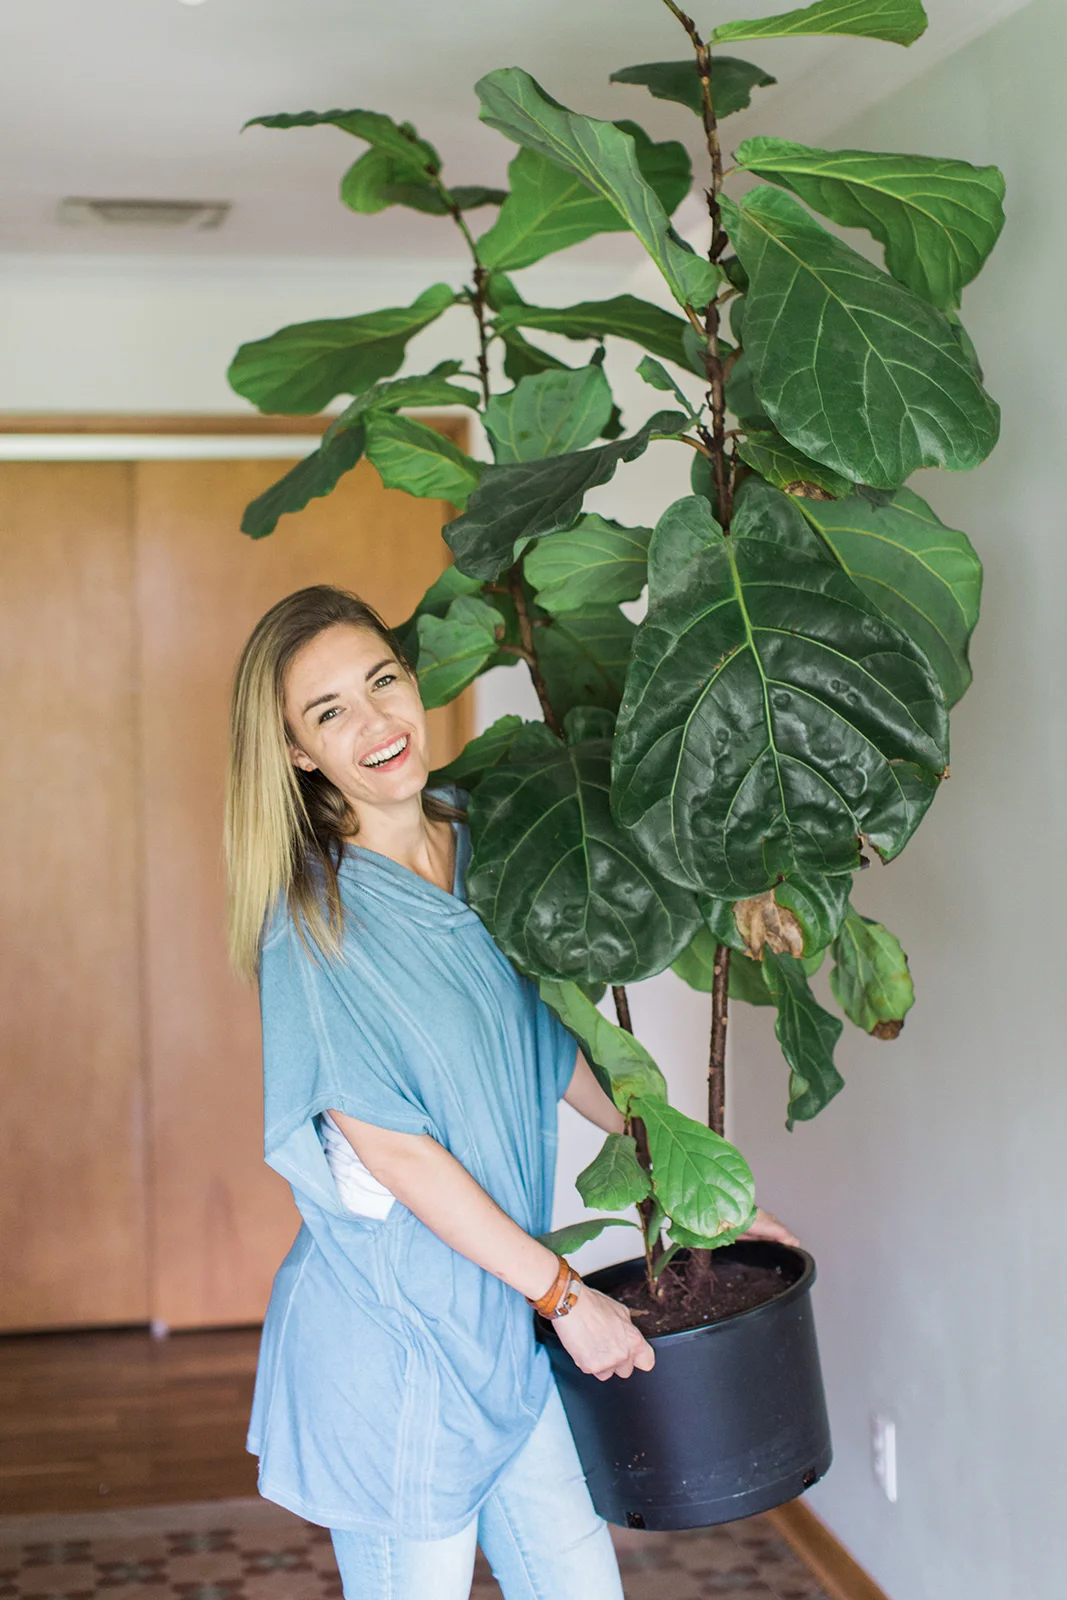


Let your plant dry out (don’t water for a week)
Purchase your supplies from a local gardening store
Plastic bucket one size larger than the current one
Fresh soil (I do potting mix and Gardner’s Thumb worm castings)
Gently pull the plant out of its plastic bucket and place in a new bucket
Pour fresh soil to fill in your new pot
Give it a good drink by placing in a tub or sink filled with at least 5 inches of water. Let it sit overnight.
Pro Tips:
I always try to keep my houseplants in a plastic bucket and then place the bucket in a cool pot. This allows me to water it much easier by just carrying the plastic bucket to my tub or sink. Constantly pouring water on your plant can cause root rot and often leads to overwatering.
Your plants will slow their growth in the winter so don’t panic. They are just taking a long winter nap.
Only do this once a year. If you notice roots starting to grow out of the plastic bucket, that means it is ready to a larger home!
You can do this with all your houseplants! I keep my plastic buckets and use them to upgrade smaller plants.
Questions? Let me know!
Happy Growing!
The Lavender
Plant Home
Another Plant Home Option
And Just One More

To check out Mini Babybel® and support our blog, please click HERE
She would literally bribe us saying, “If you score XX% on that test, you can have a lunch-able.” Being homeschooled, those to-go lunches were the only things that connected me with the much cooler public school kids who got to pack their lunch each day.

Now as an adult, I’ve discovered the beauty of cracker and cheese trays for our swing by guests. It’s an easy treat to throw together, spruce up with very little effort, and ta-da, you have an adult lunch-able aimed to please even the coolest adults.
With some lunch guests visiting mid- week, I swung by my local Target and found these adorable Halloween Mini Babybel® cheeses in the ..wait for it…cheese aisle. They are 100% real cheese which made it an easy choice for my Halloween themed cheeseboard.
Ps. Check your Cartwheel app for 10% off these themed cheeses until November.

Favorite Cracker
A few other Mini Babybel® cheese options (they come in 6 different flavors)
Salami or pepperoni
All the festive decor to add to your tray


In less than an hour, I turned our small, overrun with Russian Sage space into a perfect place to grow zucchini and peas (or any climbing veggie).
The best part? You can easily unassemble your trellis and store it for next year.
This is how I made our Easy Peasy Garden Trellis:
8 large zip ties
4 3ft stakes
4 6ft Wood Trellis
4 screws
Screwdriver
15 minutes
*Click on links to see what products I used


Worried you are too late to plant vegetables? Don't be! In mid-August, you can start planting cool weather plants (like peas, lettuce, radishes, etc.) and you trellis will come in handy!
Let me know if you give this project a try and happy Gardening!
With Love,
The Lavenders


We do set a semi-loose schedule (since it is a whole weekend) and send it out (via text) a few days ahead of time.
Friday night (grilling, bonfire, set up tents)
Saturday mid-morning we start the games
Announce the winners around dinner
Eat dinner (even though we've been eating all day)
Campout
Sunday brunch
Farewells


Without going into Derek's 4 page Bi-law handbook, the Quarry Olympics are essentialy created to encourage people to play games and get to know eachother. Each game you play, you earn points. First place will get you 10 points, second place 7, and third place 4.
You can assign points however you want (Scooter Race was worth more because there were a lot more competitors) and everyone just writes down their total on a sheet of paper.
To determine the winner, you then take the average of how many games they played and what their score was. In order to qualify for prizes, you must play at least 7 games of 5 different varients.
We did have a couples prize and single best athlete prize. Try to make your prizes someone enticing...it helps a lot!


Bocchi Ball
Egg Toss
Croquet
1 legged race
Razor Scooter Relay Race
Darts
Corn Hole
Trivia Questions


For large gatherings, try this Smoked Pork recipe for pulled pork sandwiches or a super delicious nacho bar. We fed lots of mouths with a $15 Costco Pork Loin. I did have to put the pork on at 7am but it was DELICIOUS.
This year, we asked each couple to bring a specific side dish and drinks to share which GREATLY helped my stress.

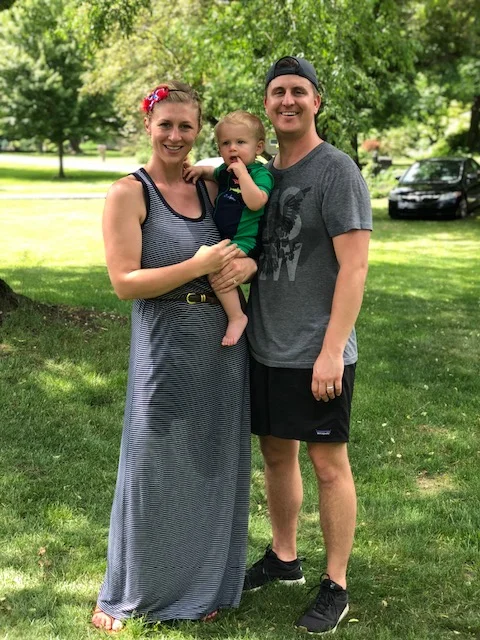


We are firm believers in building a community with whoever God has placed around you. These get togethers tend to involve lots of random couples who actually have never met...but by the end of the weekend they feel like close friends.
Let us know if you give the Olympic Games a try!
The Lavenders

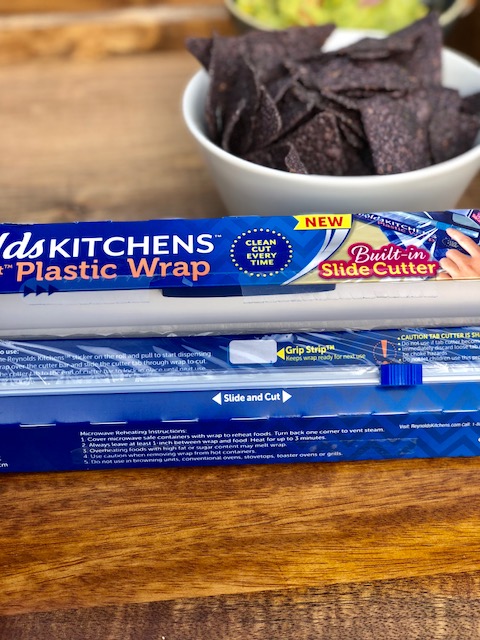
Raise your hand if you find yourself giddy over the littlest things. Only me? Eh ok. Well, I was pretty pumped when I learned that there is a plastic wrap out there that doesn't have those sharp little teeth that still haunt me in my sleep. It's all about the tiny victories folks.
Now raise your hand if you hate making burgers because all that raw meat squishes between your fingers. Yup, didn't think I was alone. Well, we have a solution for you.
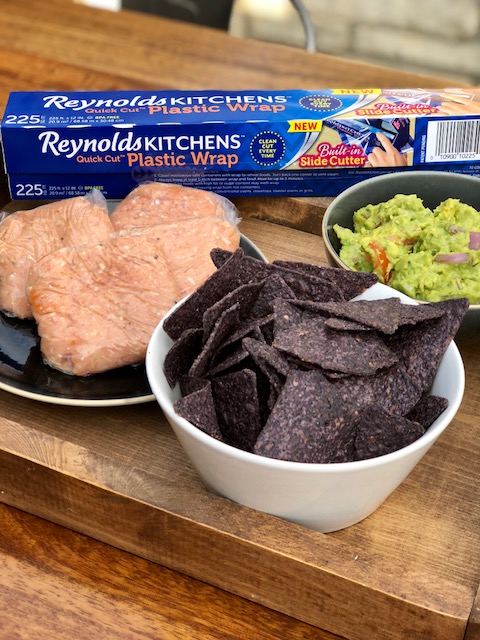
Barkus and I took to making our favorite Chicken Guacamole burgers while using our Reynolds KITCHENS® Quick Cut™ Plastic Wrap:
Barky Boy's Chicken Guacamole Burgers
Makes 4 burgers
1 lb ground chicken
1 egg
1 tsp chili spice
1 tsp crushed garlic
pinch of salt & pepper
Guacamole
3 avocados smooshed
1 Roma tomato diced
1/2 red onion diced
a little squirt of lime juice
Salt to taste

Mix all your chicken patty ingredients together.
Next, easily slice a piece of Reynolds KITCHENS® Quick Cut™ Plastic Wrap and lay that piece on your counter. Plop 1/4 of the chicken burger mix onto the wrap. Gently fold the plastic wrap around the burger and form into a patty. Boom. Once again with the tiny victories.
Grill those babies. Place them on your dinner plate. Top with a big scoop of guacamole. Enjoy!
What's your favorite thing to grill? To learn more about Reynolds KITCHENS® Quick Cut™ Plastic Wrap and help Barky & I to get a new comforter, click HERE.
With Love,
LeAnne & Barkus Adroolius
Filling you in on our favorite houseplants and some tips we discussed in the Garden Club.
Read MoreYour garden bed has been chosen and you are probably dreaming about vegetable seeds right now. So next up? I've listed out the few things you will want to consider purchasing before you start planting.
Why? Because running to your nearest hardware store last minute can be expensive and will slow down your gardening day!
Stock up now, plant later.
Ps. These are not collaborations. Just things I love and what will be helpful to you!
Good luck garden buddies! Remember, if you live in the midwest, you can start planting your cool weather seeds beginning of April. It will be here before you know it!
Comment below with questions.
With Love,
The Lavenders

Last week, we learned that gardens really can be planted anywhere. This week, we discussed finding out what ZONE you are in, how to read the pack of a seed packet, and getting starting on growing your own little veggies.
I'll bulk up this post tomorrow but wanted you to have the links to the items we discussed today:
Great for patios and easy to store in the winter
Questions? Leave them below and we will do our best to help!
Happy Growing!
The Lavenders

Here is a snippet of things we discussed last night with links:
Tomatoes Love Carrots Book- Certain veggies like to be planted next to each other. Quickly learn which ones through the first garden book I ever read.
Grow Bags for Container Gardens
Grid Notebook for Garden Plotting
Cliche' Garden- This is your typical dirt-in-the-ground type of bed. Fairly easy to maintain and easy to get going. Just rent a tiller from your local hardware store and consider purchasing a little fence. The may not be as cute (or trendy) as a raised bed, but it gets the job done.
Raised Bed- Beautiful and easy to work with, these guys take some time to set up but are there for the long haul. Make sure you love gardening before jumping straight into a raised bed. Or just do 1 bed and add from there. They help keep weeds at bay and also can save your back a bit since you don't have to bed down as low to work on them.
Edible Landscaping- Since you already have flower beds, just mix your veggies in there. Strawberries, carrots, herbs, radishes, bush beans, etc. A lot of vegetables do really well when mixed with flowers (grab the book listed above- Tomatoes Love Carrots)
Container Gardens- Simple and fun, start with a container garden if you are nervous about this whole venture. Any container will do but Grow Bags are great because the water won't pool at the bottom (and therefore cause root rot). They are also easy to store for the next year!
HOMEWORK
For next weeks Garden Club meeting (Wednesday, February 28th @7:30PM EST. Instagram LIVE), come prepared with what type of BED works best for you. We will be discussing all things SEEDS.
Also, my favorite notebook for gardening HERE has grid lines which are important when you are plotting out your seeds. If you don't have one already, grab a grid notebook.
Any questions, comments, or thoughts? Leave them below for all your Garden Club Members to read!
With Love,
LeAnne
We're a 20 somethings couple who found our world flipped on June 15th. In spite of it all, we are determined to continue doing the things we love but just with a little twist. Follow the renovation of our home (The Quarry), Derek's health journey, and our garden to table lifestyle.


Powered by Squarespace.

